How to Grow Oyster Mushrooms at Home
Are you eager to embark on an exciting journey of growing your own delectable oyster mushrooms at home? Well, you’re in the right place. Home mushroom cultivation is an immensely rewarding and sustainable hobby that not only ensures a fresh supply of mouthwatering oyster mushrooms but also allows you to engage with the fascinating world of mycology. In this comprehensive guide, we will walk you through the step-by-step process of cultivating oyster mushrooms in the comfort of your own home.
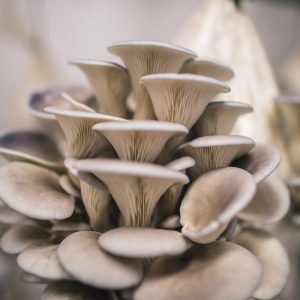
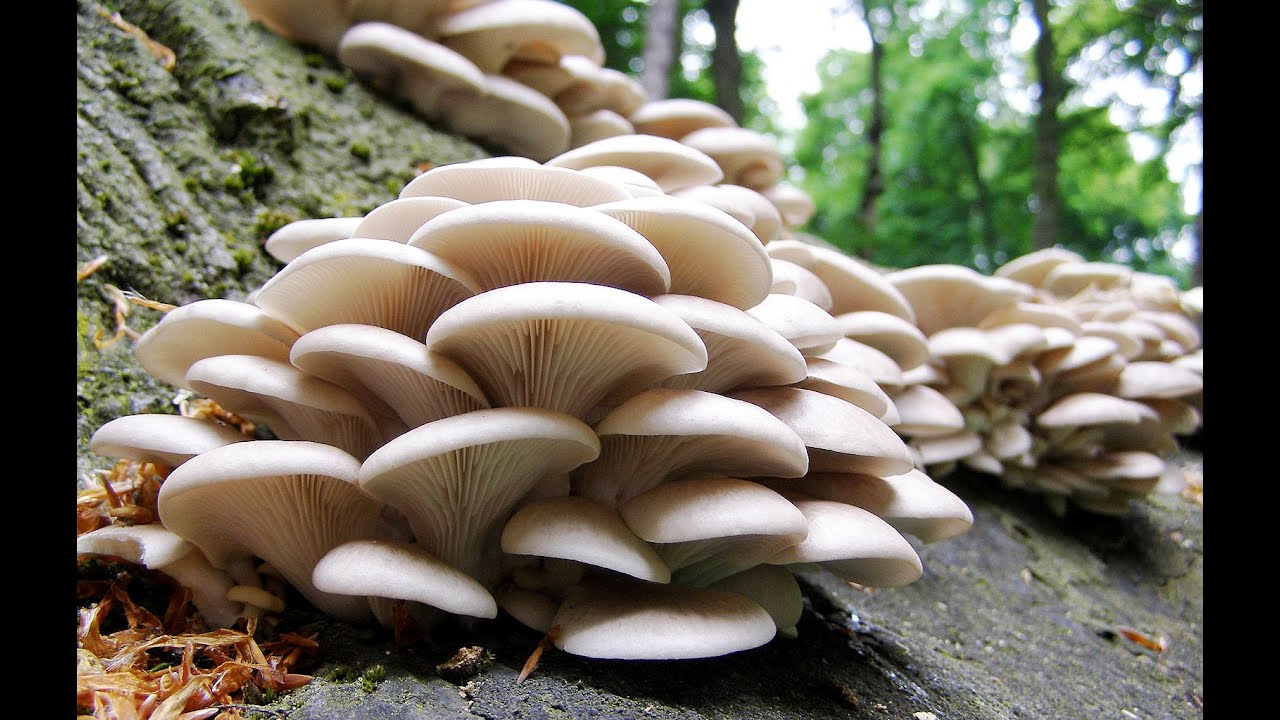
Selecting the Right Strain of Oyster Mushrooms
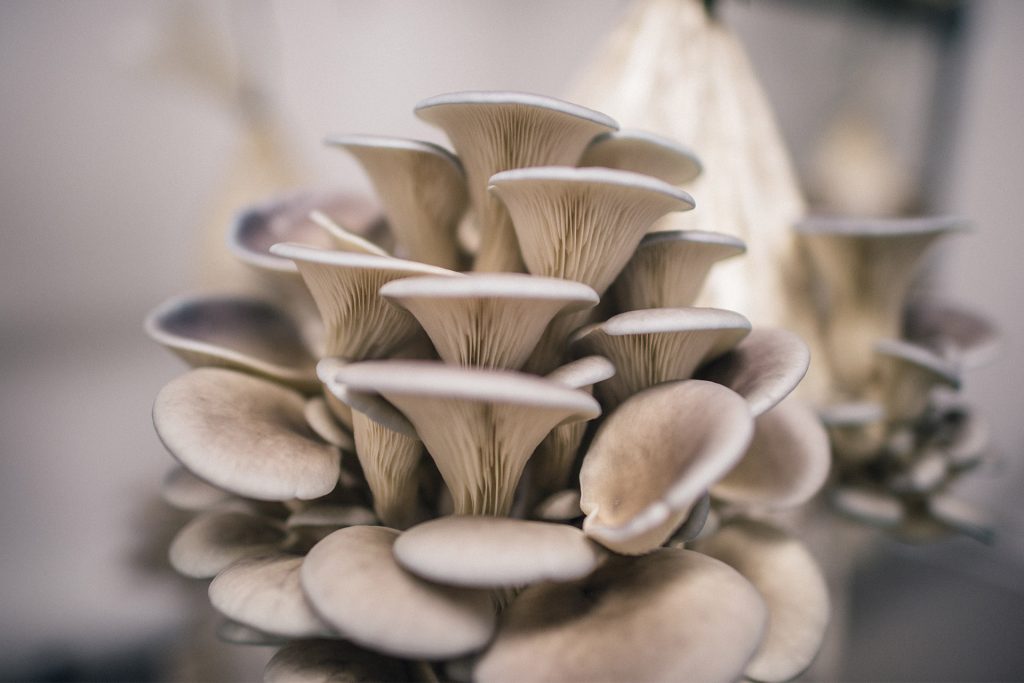
The success of your oyster mushroom cultivation project begins with the right choice of mushroom strain. There are various strains to choose from, each with its unique flavor profile and growth requirements. Some popular options include:
- Pearl Oyster (Pleurotus ostreatus): Known for its mild and slightly nutty flavor, this strain is a great choice for beginners.
- Golden Oyster (Pleurotus citrinopileatus): These mushrooms have a stunning golden hue and a distinct flavor that’s both savory and slightly sweet.
- Blue Oyster (Pleurotus ostreatus var. columbinus): With a bold, earthy flavor, blue oysters are a favorite among culinary enthusiasts.
It’s important to choose a strain that suits your taste preferences and is compatible with your environment. Different strains have varying temperature and humidity requirements, so be sure to research and select one that aligns with your specific conditions.
Gathering Your Supplies
Before you embark on your oyster mushroom cultivation journey, gather all the necessary supplies to ensure a smooth and successful process. You will need:
- Mushroom Spawn: This can be obtained from a reputable supplier or, for the more adventurous, you can create your own using a sterile technique.
- Substrate: Common substrates for oyster mushrooms include straw, coffee grounds, or hardwood sawdust. Make sure it’s pasteurized to eliminate potential competitors for your mushrooms.
- Growing Containers: Plastic bags or containers with small holes for ventilation work well.
- Spray Bottle: For maintaining humidity.
- Hygrometer: To monitor humidity levels.
- Thermometer: To keep track of temperature.
- Dark Space: Oyster mushrooms thrive in darkness during their initial growth stages.
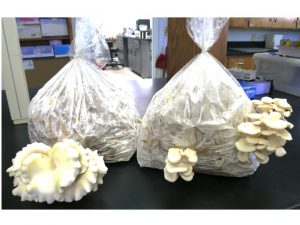
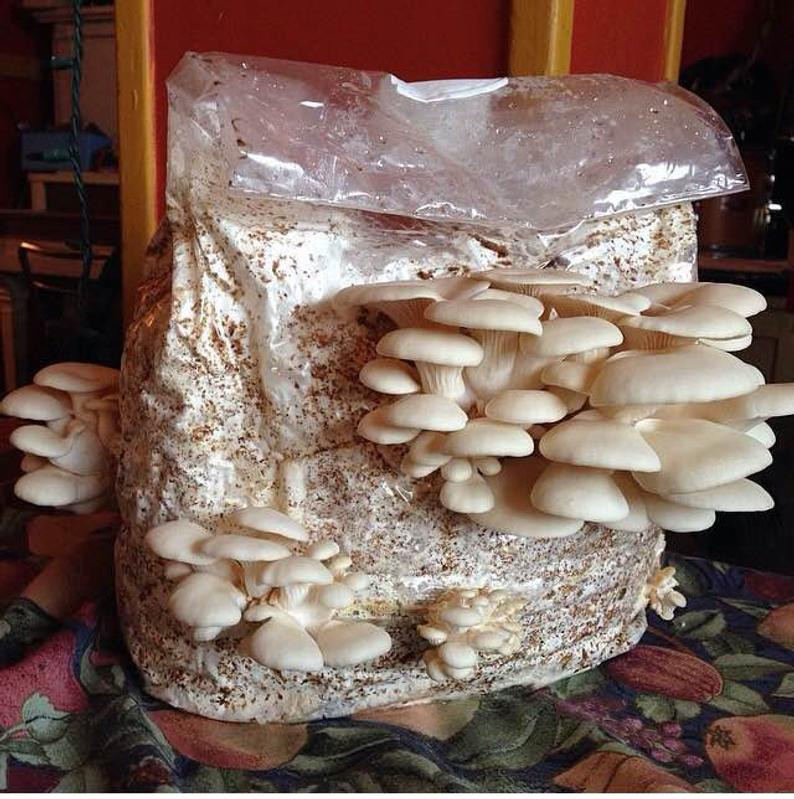
Preparing the Substrate
Once you’ve gathered your supplies, it’s time to prepare the substrate for your oyster mushrooms. Follow these steps:
- Sterilize: Ensure that your working area and tools are clean and sterilized to prevent contamination.
- Mix Substrate: If you’re using a straw substrate, chop it into small pieces and pasteurize it by soaking it in hot water.
- Cool and Drain: After pasteurization, cool the substrate and drain excess water. It should be damp but not dripping.
- Inoculate: Mix the cooled substrate with your mushroom spawn. Make sure it’s evenly distributed.
Creating the Ideal Growing Environment

Oyster mushrooms thrive in specific environmental conditions. Here’s how to create the perfect setting for their growth:
- Temperature: Maintain a temperature range between 55-75°F (13-24°C) for most oyster mushroom strains.
- Humidity: Keep humidity levels at around 90-95%. Regularly mist the growing area to maintain these levels.
- Darkness: During the initial stage of growth, oyster mushrooms need darkness. Use a dark, ventilated container or grow them in a dark room.
Monitoring and Maintenance
As your oyster mushrooms grow, be vigilant in monitoring their progress. Look for signs of contamination or unusual growth. If necessary, make adjustments to the temperature, humidity, or air circulation.
Harvesting Your Oyster Mushrooms
Typically, oyster mushrooms are ready for harvest within 2-4 weeks, depending on the strain and environmental conditions. To harvest, gently twist or cut the mushrooms at the base. Be sure to pick them when they’re still young and firm for the best flavor and texture.
Frequently Asked Questions (FAQ)Q: Can I use a different substrate for oyster mushrooms?
A: Yes, oyster mushrooms can be grown on various substrates, including coffee grounds and hardwood sawdust. Just ensure they are properly pasteurized and provide the right conditions.
Q: How can I store harvested oyster mushrooms?
A: Oyster mushrooms can be stored in the refrigerator for up to two weeks. You can also dry them for long-term storage or sauté and freeze them.
Q: Is it possible to grow oyster mushrooms without a dark space?
A: While oyster mushrooms thrive in darkness during the initial stage, some strains can tolerate low light. You can experiment with a partially shaded area.
Q: What are common issues I might encounter during oyster mushroom cultivation?
A: Common issues include contamination, inadequate humidity, and temperature fluctuations. Regular monitoring and maintaining ideal conditions can help prevent these problems.
Q: Can I grow oyster mushrooms year-round?
A: Oyster mushrooms can be grown year-round with the right environmental control. You can create an indoor setup that provides consistent conditions.
Now that you’re equipped with the knowledge to grow oyster mushrooms at home, it’s time to roll up your sleeves and start your mushroom cultivation journey. Whether you’re a culinary enthusiast or simply seeking a rewarding hobby, home mushroom cultivation can be a fulfilling and sustainable endeavor. Enjoy the flavors and benefits of freshly grown oyster mushrooms straight from your own kitchen.
tag
- chicken feed
- how to Keep Chickens Off Your Porch
- How to grow oyster mushrooms at home
- Growing Kale in Pots
No Responses